 Foto: Olga Lioncat / Pexels
Build Your Emergency Water Storage Step by Step
How to build an emergency water storage systematically: the step-by-step approach from zero to a complete 2-week supply, with practical container recommendations.
Why "I'll Buy Water Before the Next Crisis" Is Not a Plan
When a crisis hits, grocery store shelves are empty within hours. Water, batteries, and canned goods disappear first. The only reliable emergency water supply is the one you build before you need it.
This step-by-step guide builds your water reserve incrementally — no overwhelming single purchase required.
Step 1: Establish Your Target (Day 1)
Before buying anything, calculate your household's 2-week water target.
Formula: 4 liters × number of people × 14 days
| People | 2-Week Target |
|---|---|
| 1 | 56 liters |
| 2 | 112 liters |
| 4 | 224 liters |
| 6 | 336 liters |
Add 20% buffer for cooking fluctuations, guests, and pet needs.
Write this number down. It is your destination.
Step 2: The 3-Day Reserve (This Week, Under 20 Euros)
Goal: 4 liters × people × 3 days
Action: Buy this many 1.5-liter water bottles at your next grocery run. Store them in one location — a spare cupboard, under the bed, or in a closet.
Label with today's date. Rotate and replace in 12 months.
This 3-day reserve immediately addresses the most common scenarios: 48-72 hour tap water interruptions, local distribution failures, post-flooding boil advisories.
Completing Step 2 puts you in a better position than the majority of households.
Step 3: The 7-Day Reserve (Month 1, Under 60 Euros)
Goal: Double your reserve by adding a 4-day supply.
Recommended approach: Purchase 2-4 purpose-built water storage containers (10-25 liter food-grade HDPE canisters). These are:
- Cheaper per liter than bottled water
- Stackable (better storage density)
- Refillable (tap water is fine)
- More environmentally sustainable
Fill them from your tap: Tap water with residual chlorine is safe to store for 12 months in sealed HDPE containers.
Where to buy: Hardware stores, outdoor/camping retailers, and emergency preparedness shops carry these. Expect 5-15 euros per 10-20 liter canister.
Step 4: Add Purification Capability (Month 1, Under 20 Euros)
A water reserve is only as good as your ability to extend it in a real extended crisis.
Buy now:
- 100 Aquatabs chlorination tablets (~10 euros)
- 1 hollow-fiber water filter, e.g., LifeStraw (~20 euros)
This equipment lets you purify water from rain, streams, or neighbor tanks if your stored supply runs out.
Store with your water, not separately. During a crisis, you should not need to search for these.
Step 5: The 2-Week Reserve (Months 2-3, Total Investment Under 150 Euros)
Scale your storage to reach your 2-week target. Options:
Option A: Multiple small containers Continue buying 10-20 liter canisters. 10 × 20-liter = 200 liters. Stackable, manageable, ~80-100 euros.
Option B: Large storage barrel A 200-liter food-grade barrel stores your entire family's 2-week supply in one container. Requires a pump or siphon to access. ~80-120 euros.
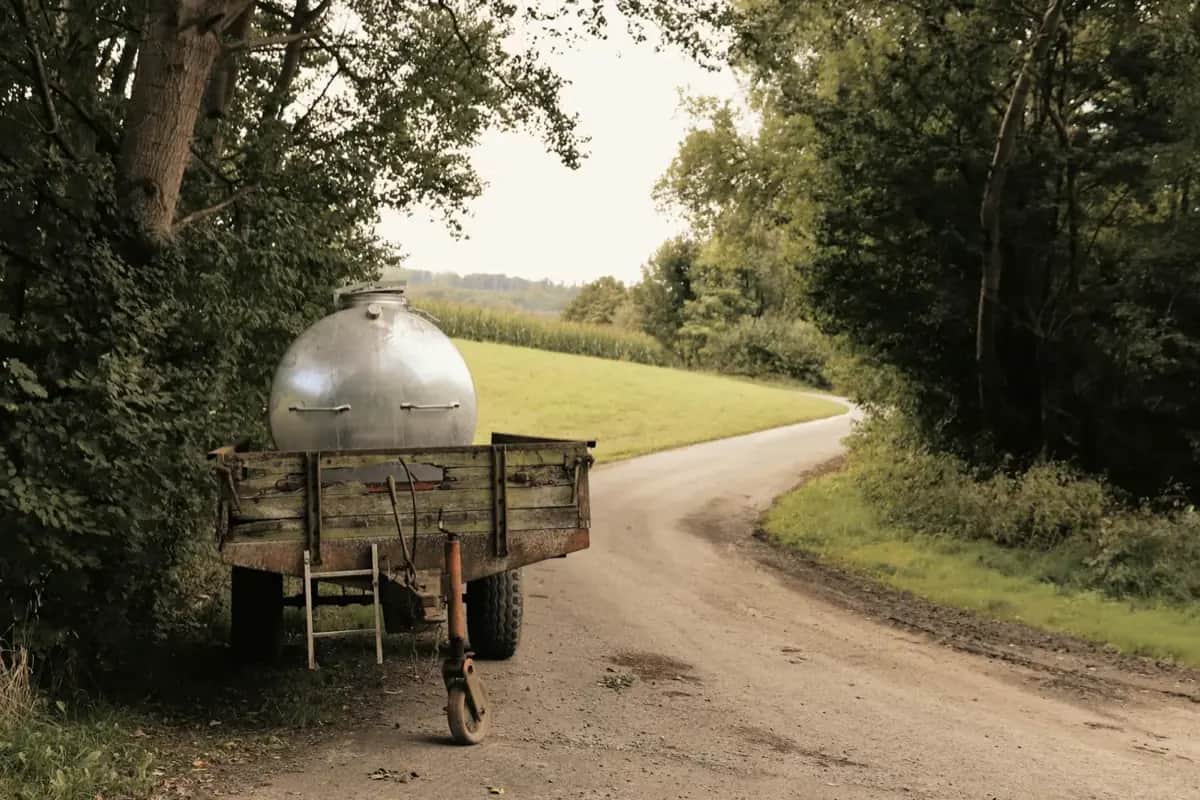
Option C: IBC tote 1000-liter food-grade IBC totes are available secondhand (food industry surplus) for 50-150 euros. Overkill for most urban apartments but ideal for a house with outdoor space.
Recommendation for most families: 10 × 10-liter jugs + 1 × 20-liter canister = practical 2-week reserve.
Step 6: Organize Your Rotation System (Month 3)
The rotation calendar method:
- Label every container with the fill date
- Set a calendar reminder for 12 months from fill date
- When the reminder fires: use the water (garden, cleaning), refill and relabel
- Oldest containers always come to the front (FIFO)
Alternative for families: Integrate water into your normal grocery rotation. Buy 4 extra 1.5L bottles each week; use the oldest ones first. Your stock naturally rotates.
Step 7: The Bathtub Protocol
This costs nothing:
Write this somewhere visible: "FILL THE BATHTUB IMMEDIATELY IF WARNED OF WATER OUTAGE."
A bathtub holds 150-200 liters. This water is not drinking quality (use it for toilet flushing and hygiene), but it dramatically extends your reserve during an emergency.
WaterBOB: A food-grade bathtub liner (30-50 euros) turns your bathtub into a safe drinking water reservoir. Optional but useful if space is at a premium.
Maintenance Checklist (Annual)
- Check all containers for integrity (no cracks, seals intact)
- Rotate water (use old, refill fresh)
- Check Aquatabs expiration date (typically 5 years)
- Test your filter (run water through it, ensure flow)
- Recalculate family size and needs
Common Mistakes to Avoid
Buying only decorative water: 6 × 1.5L bottles on a shelf looks like preparedness but covers one person for 4-5 days.
Never rotating: Stored water does not last forever. Annual rotation is not optional.
Storing in a hot garage: High temperatures accelerate plastic degradation. Cool, dark storage is essential.
No purification backup: If your stored supply runs out, you need a way to make more safe water. Always have Aquatabs and a filter.
Conclusion
Building an emergency water supply is a straightforward step-by-step process. Start with a 3-day supply this week. Reach 7 days this month. Complete your 2-week target over the next quarter. Each step takes 30 minutes and costs less than a restaurant dinner. The investment pays for itself the first time your tap runs dry.