 Foto: Jakub Zerdzicki / Pexels
Your Basement as an Emergency Shelter: How to Set It Up
How to turn your basement into an emergency shelter: what protection it provides, what to store there, and the setup steps that make it genuinely useful in a crisis.
Why Your Basement Is More Useful Than You Think
Most people use their basement for storage — boxes, bikes, old furniture. But a basement is also one of the most protective spaces available in any typical residential building.
Underground or semi-underground, surrounded by earth and concrete, a basement provides:
- Significant protection from blast effects
- Excellent radiation shielding
- Natural insulation against extreme temperatures
- A hardened structure in severe storms
This guide covers how to assess your basement's protective value and how to set it up as a genuine emergency shelter.
What a Basement Protects Against
Storms and Extreme Weather
A basement below grade is the safest place in any building during a tornado, severe windstorm, or hurricane. Flying debris — the primary injury cause in severe storms — cannot reach you underground.
Protection: High. Go to the basement immediately in a tornado warning.
Explosions and Blast Effects
In an explosion event (industrial, infrastructure failure, or military), the blast wave travels above ground. A basement below grade is significantly protected from blast overpressure.
Protection: Moderate to high, depending on depth and construction.
Radiation (Nuclear or Radiological Event)
Earth and concrete are effective radiation shields. A basement with 1-2 meters of earth above the ceiling provides a protection factor of 100x or more compared to being outdoors.
Protection: High for radiological events; significant for nuclear fallout.
Fire
A concrete or masonry basement provides significant fire protection — it does not burn, and the thermal mass slows heat transfer. However, fire creates toxic smoke, which can enter the basement. This is a key limitation.
Protection: Moderate. Good for wildfire that passes quickly; problematic for extended structural fires.
Flooding
A basement is the WRONG place to shelter from flooding. Basements flood, and you can be trapped. If flooding is the hazard: go to the highest floor, not the basement.
Exception: If the basement is above the flood plain and the ground floor is flooded, it may be safer — but this is location-specific.
Assessing Your Basement
Before investing in setup, assess what you have:
Type of basement:
- Fully below grade (most protective) — the entire space is below ground level
- Half-basement (semi-protective) — windows are partially above ground
- Walk-out basement (limited protection) — one wall is entirely above grade
Construction material:
- Poured concrete (most protective)
- Concrete block (good protection)
- Brick (moderate protection)
- Wood-framed (limited protection)
Structural integrity:
- No significant cracks in walls or ceiling
- No water infiltration (wet basement = ongoing structural concern)
- Electrical panel not a fire risk
Access: Only one entrance? Multiple entrances? Entrances that can be sealed?
Setting Up for Shelter Use
Step 1: Clear and Clean
A usable shelter needs accessible floor space. Remove or reorganize storage to create:
- 1.5-2 square meters per person for sleeping/sitting
- Circulation space to reach all areas
- Clear access to the exit/entrance
Step 2: Sealing Capability
For radiological and chemical scenarios, the ability to seal the basement matters.
What to seal:
- Window openings: Cover with plastic sheeting and duct tape
- Door gaps: Draft-proof the basement door
- HVAC intake vents: Cap these with plastic and tape
- Any pipe penetrations that allow outside air entry
Store near the entrance: Duct tape (several rolls), plastic sheeting (enough to cover windows and ventilation), scissors.
Step 3: Water Supply
The basement shelter requires an independent water supply — the tap may not work during the crisis.
Minimum: 4 liters per person per day × number of people × number of planned shelter days.
Practical: 10-liter HDPE jugs stored in the basement. For a family of 4 planning 3-day shelter: 12 jugs (120 liters). Stack them along a wall.
Water in the basement stays cool — good for preservation. Rotate annually.
Step 4: Food Supply
Store a portion of your emergency food supply in the basement:
- Canned goods with ring pulls (no opener needed)
- Energy bars and dried fruit
- Crackers and nut butters
No cooking capability required for short-term shelter use (3-5 days). Store enough for the expected duration.
Step 5: Light and Power
The basement will be dark when power is out.
- Flashlights: Multiple, with spare batteries. LED flashlights last 20+ hours per set of batteries.
- Headlamps: Leave hands free.
- Battery lanterns: For general illumination.
- Optional: A small power bank for phone charging; a solar charger is not useful underground but can charge the power bank before entering the shelter.
Candles: Avoid in enclosed spaces with limited ventilation (oxygen consumption, fire risk). LED candles are a safe substitute.
Step 6: Communication
Underground, your phone signal may be limited. But the basement is typically only a few meters below grade — signal often works.
- Battery radio: Essential. DAB+ and FM both work in basements within normal radio reception range.
- Phone: Keep fully charged before entering shelter. Airplane mode extends battery life.
- Written contact list: Phone numbers and addresses for key contacts, written on paper.
Step 7: Sanitation
For shelter stays beyond 12 hours, sanitation becomes relevant.
If you have a basement bathroom: Ideal — no additional setup needed if plumbing still works.
If no bathroom:
- 5-10 liter bucket with lid (camping toilet bucket method)
- Biodegradable waste bags (line the bucket)
- Toilet paper
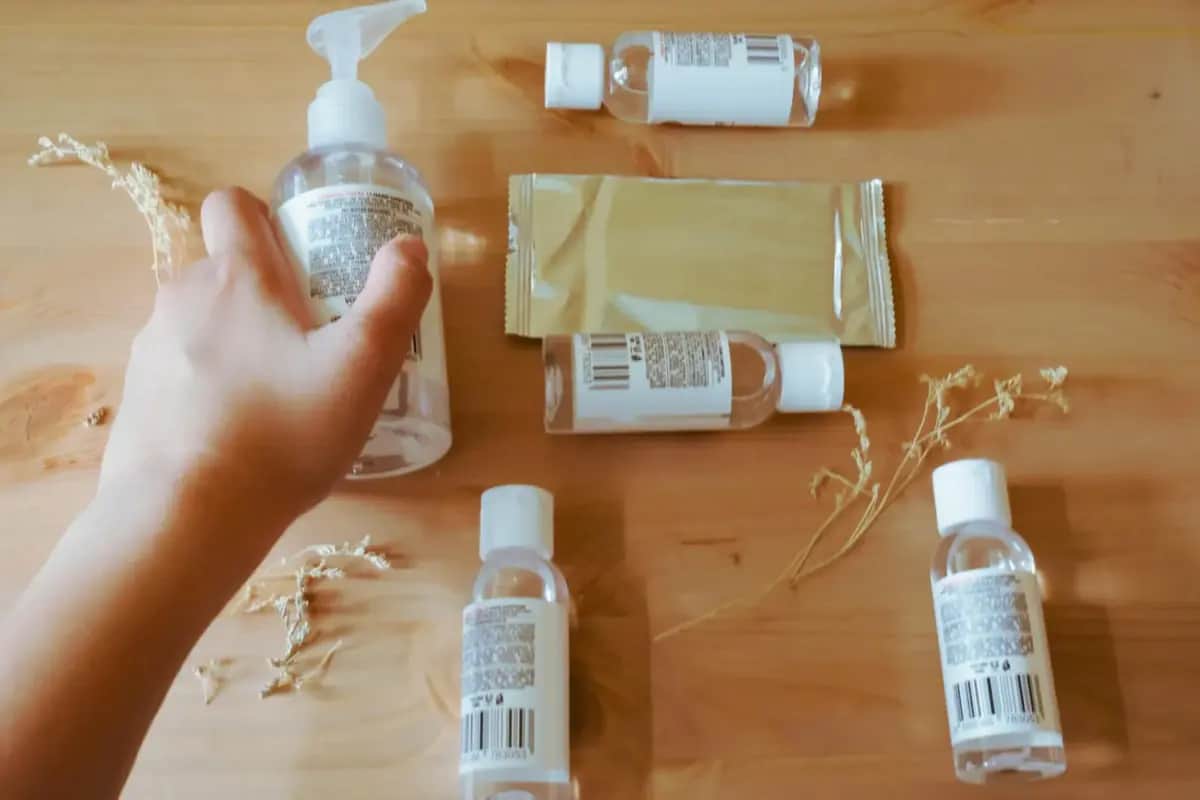
- Hand sanitizer
This addresses the most basic need without requiring plumbing.
Step 8: First Aid and Medication
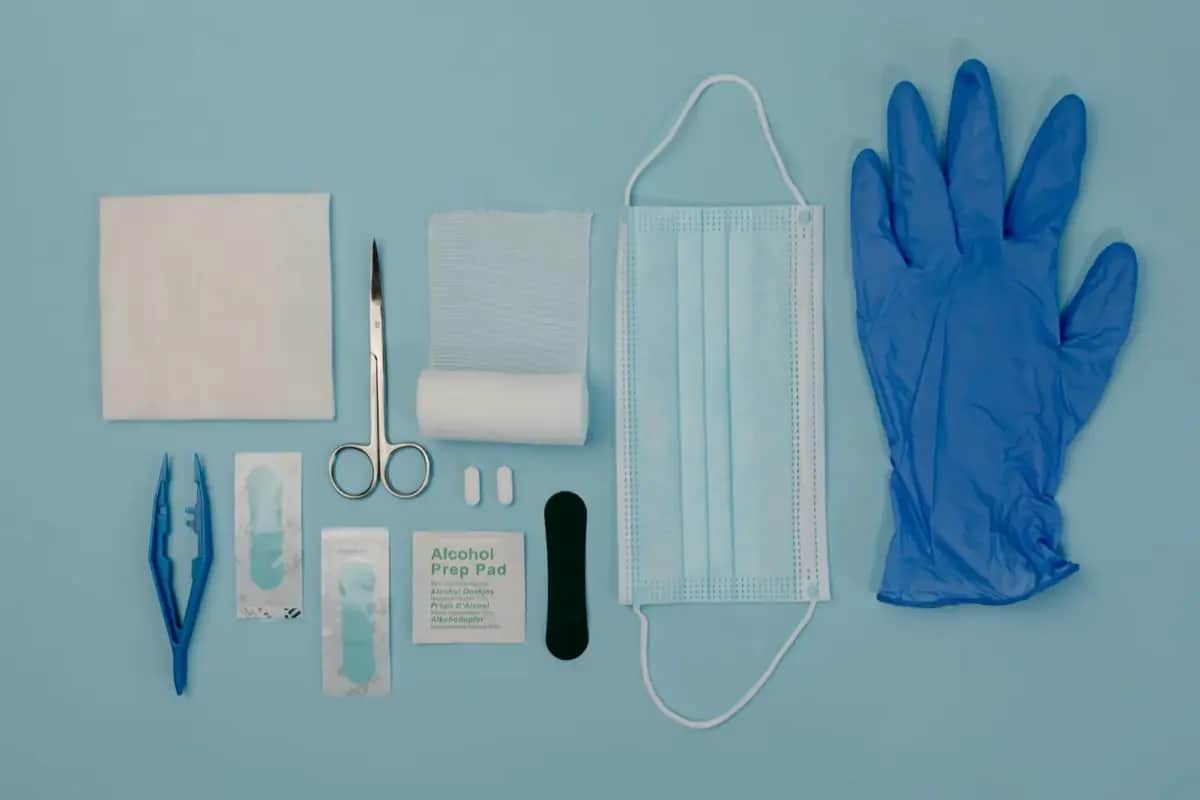
Store a duplicate first aid kit in the basement — not your only one:
- Wound dressings
- Pain medication
- Any critical prescription medications (a 3-5 day emergency supply)
Step 9: Comfort and Mental Resilience
For anything beyond 12 hours, the psychological dimension matters as much as the physical:
- Books, cards, board games for children
- Tablets with offline content (downloaded before the crisis)
- Familiar comfort items (for children especially)
- A radio program schedule or playlist to structure time
Basement Shelter Supply Checklist
| Category | Items | Cost |
|---|---|---|
| Sealing | Duct tape (4 rolls) + plastic sheeting (2m²) | 15 € |
| Water | 10L jugs × appropriate number | 40-80 € |
| Food | 3-5 day supply per person | 50-100 € |
| Light | 3 flashlights + lantern + batteries | 40-60 € |
| Communication | Battery radio | 30-60 € |
| Sanitation | Bucket, bags, TP, sanitizer | 20-30 € |
| First Aid | Duplicate kit | 30-50 € |
| Comfort | Books, games | 0-30 € |
Total: 225-435 euros for a complete basement shelter setup for a family of 4.
Maintenance
Annual check:
- Rotate water and food (consume and replace)
- Test flashlight batteries
- Check sealing materials are still accessible and in usable condition
- Verify radio works
Conclusion
A basement shelter requires relatively modest investment to become genuinely useful. The key insight: your basement already provides significant protection — the setup investment purchases the ability to survive there comfortably for 3-5 days rather than merely endure it for a few hours. Start with sealing materials, water, light, and a battery radio. Add the rest as budget allows.
Recommended Products
As an Amazon Associate we earn from qualifying purchases. Buying through our links supports the development of this app at no extra cost to you.