 Foto: RDNE Stock project / Pexels
How to Treat Wounds Without a Doctor: Step-by-Step Guide
Step-by-step guide for treating wounds without medical care: cleaning, closing, infection prevention, and knowing when you need professional help.
When Professional Wound Care Isn't Available
In most situations, wound care means washing the injury and getting to a doctor or urgent care. In a crisis, that option may not exist for hours or days. This guide gives you the skills to manage wounds effectively in those situations.
This covers lacerations, abrasions, puncture wounds, and basic wound infection management. It does not cover arterial bleeding (see the tourniquet guide) or severe burns.
What You Need
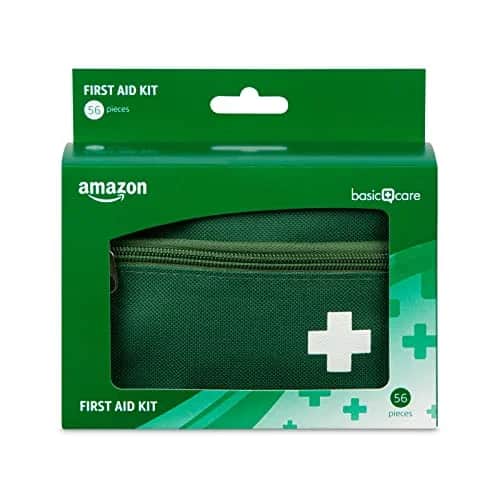
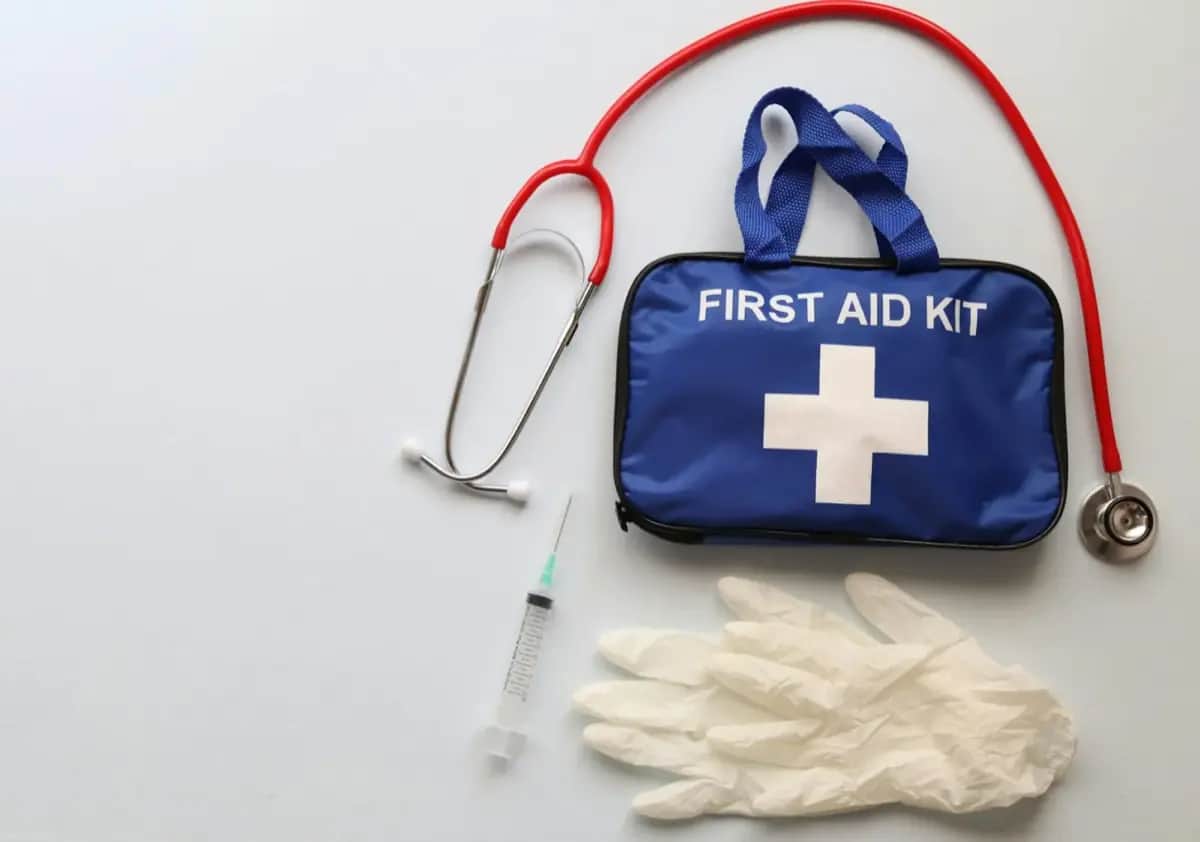
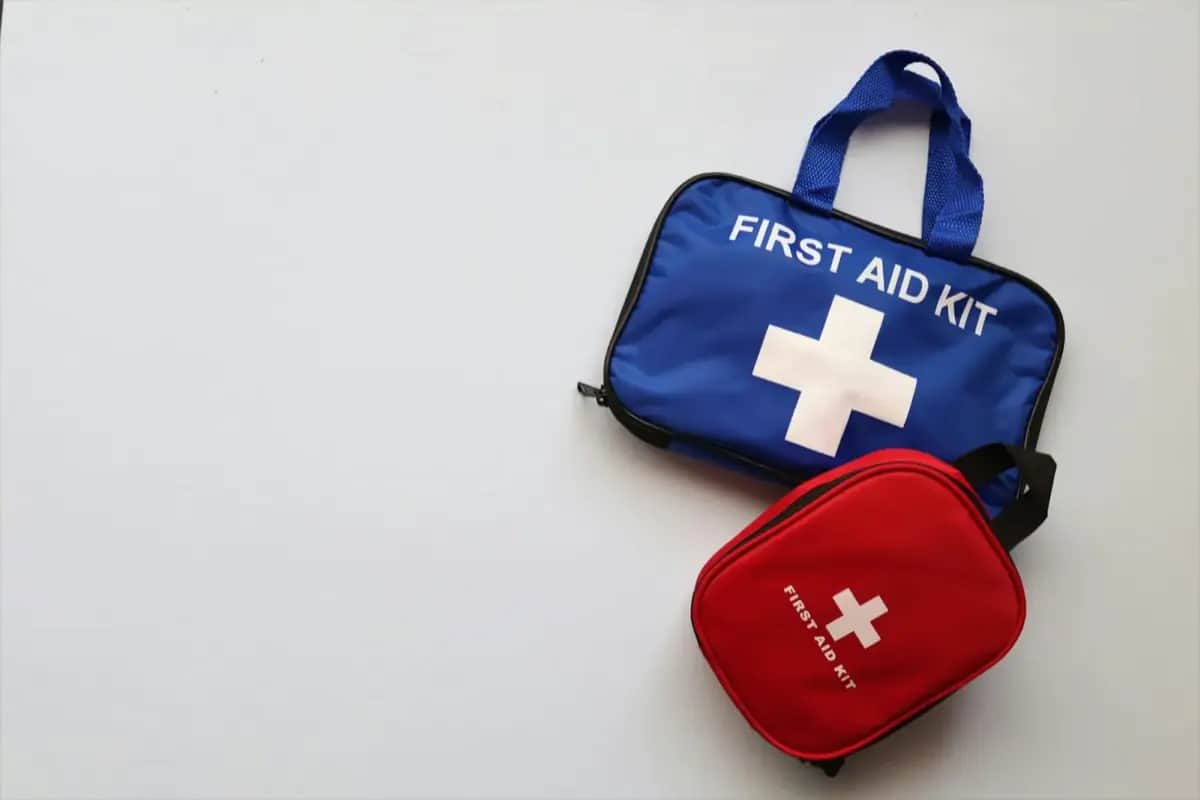
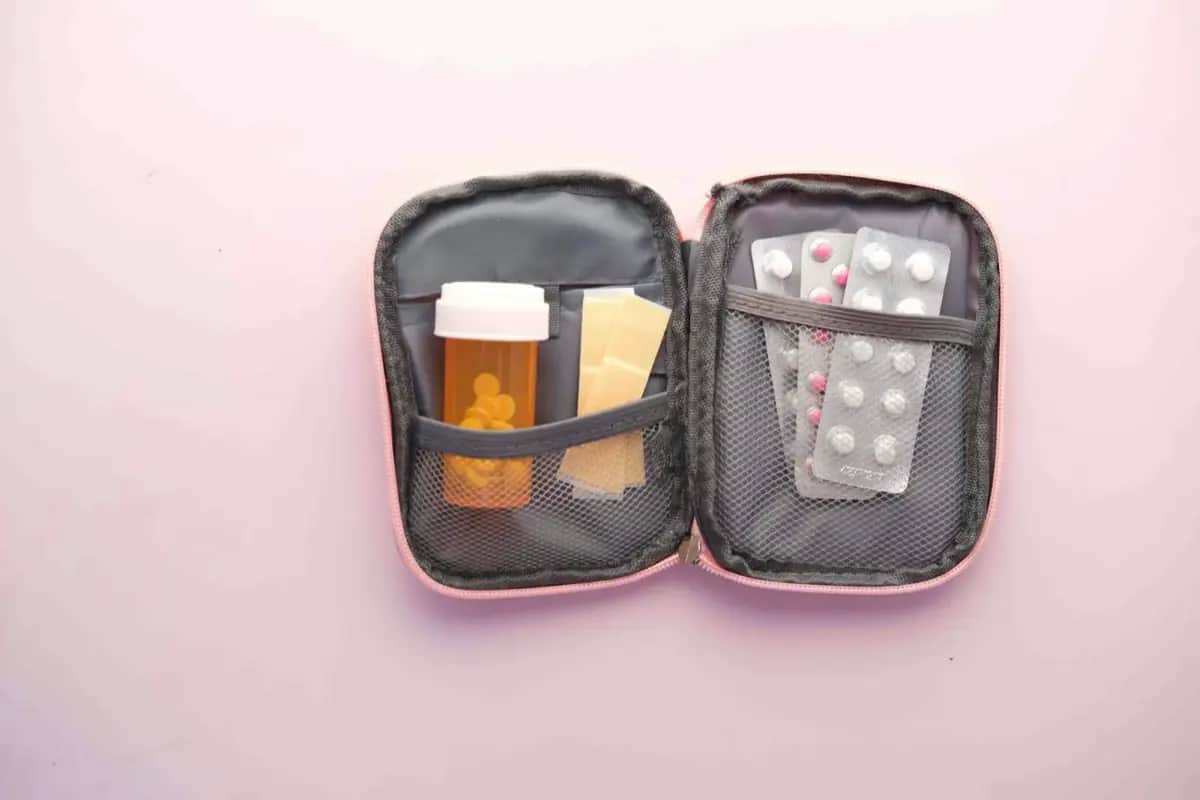
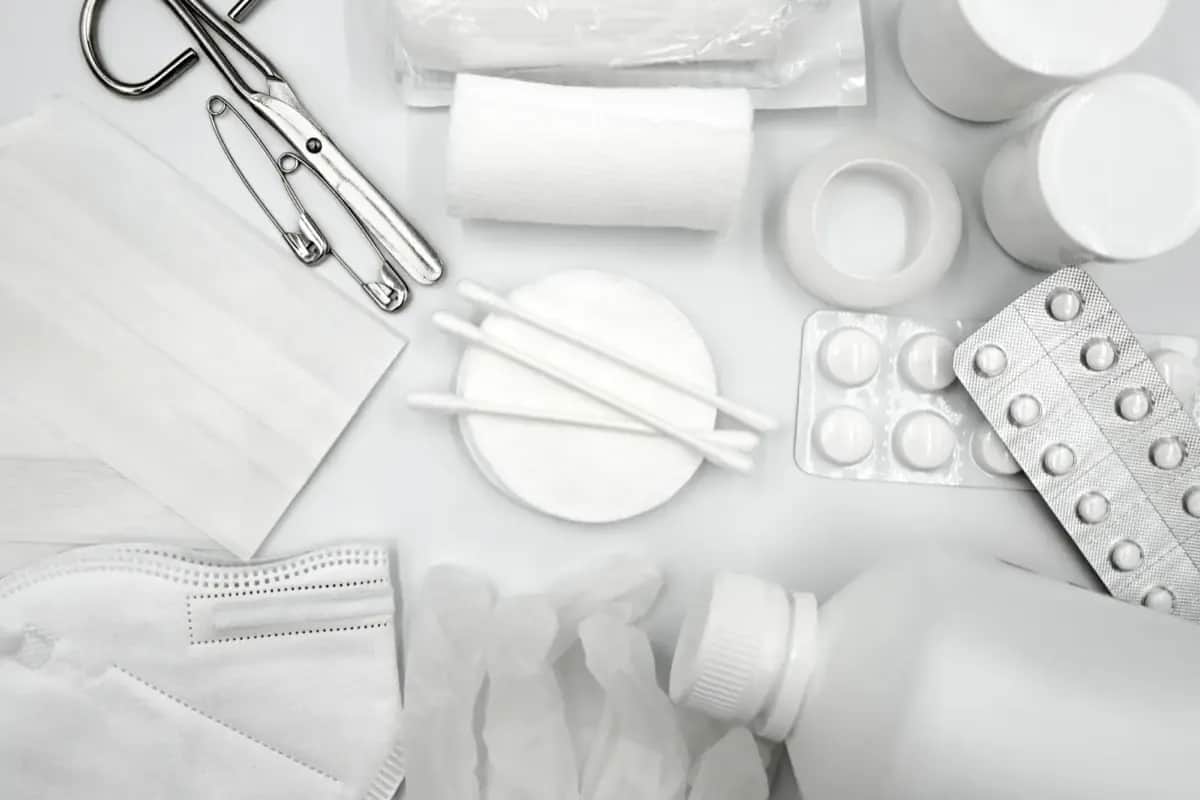
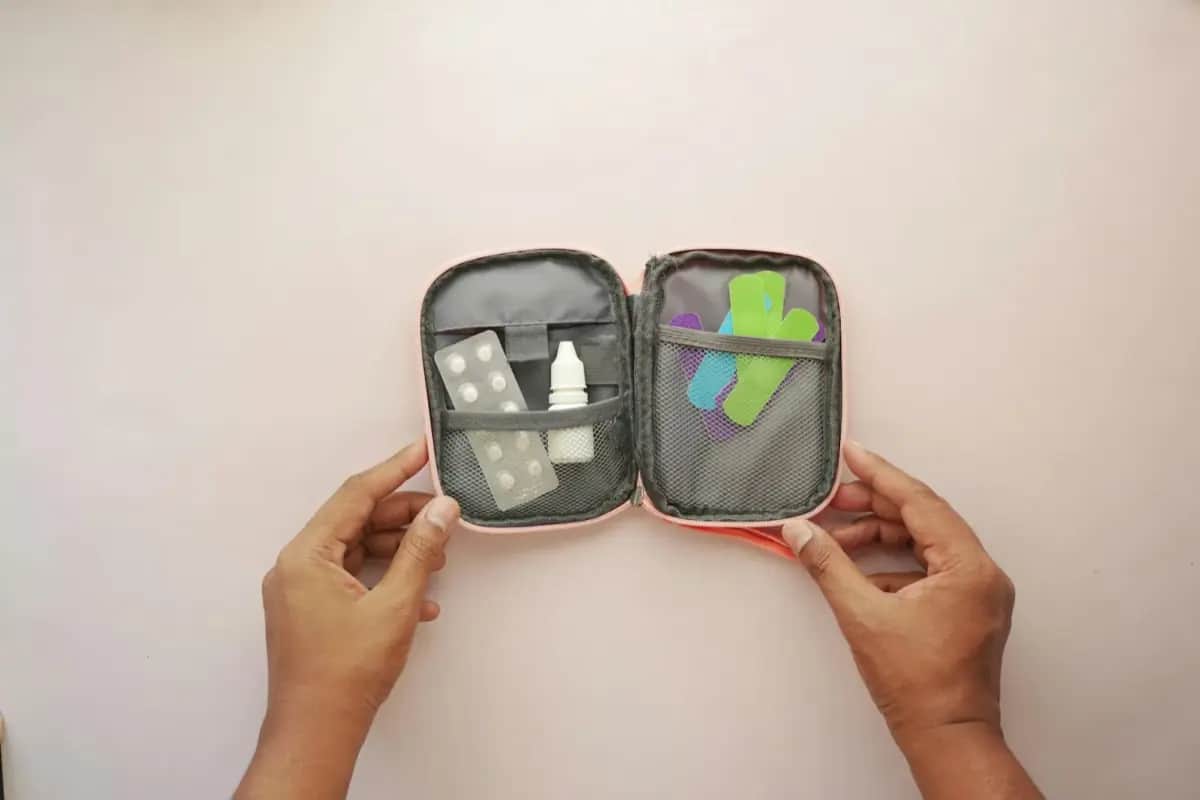
Minimum kit:
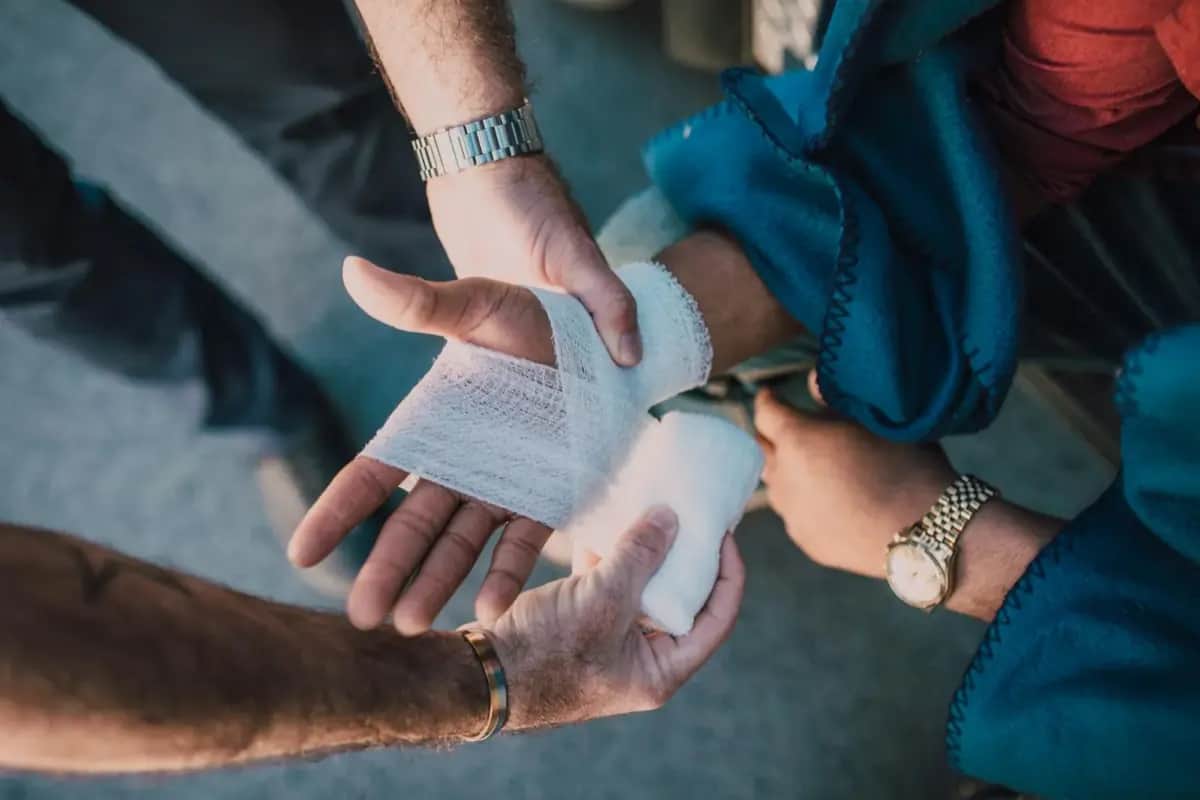
- Clean water (tap is fine if running; boiled if uncertain)
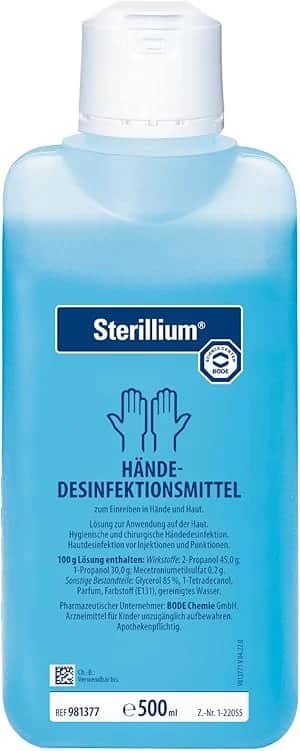
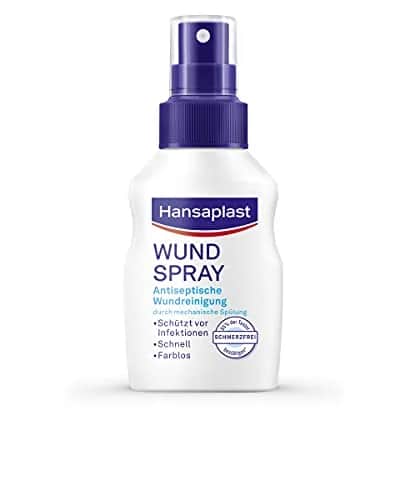
- Antiseptic solution (povidone-iodine or chlorhexidine)
- Sterile gauze pads
- Adhesive bandages or wound closure strips
- Medical tape
- Nitrile gloves
- Scissors
Full kit adds:
- 20 ml syringe (for irrigation pressure)
- Antibiotic ointment
- Elastic bandages
- Non-adherent dressings
Step 1: Control Bleeding
Before you can clean a wound, bleeding must be controlled.
- Put on gloves
- Apply firm, direct pressure with a clean cloth or sterile gauze
- Press continuously for 3–5 minutes — do not lift to check, start timing over if you do
- For scalp wounds: these bleed dramatically but usually stop with pressure
- For extremity wounds that don't stop within 10 minutes of direct pressure: consider tourniquet
When bleeding is controlled: Move to Step 2.
Step 2: Clean Your Hands
Before touching the wound further:
- Wash hands with soap and water for 20+ seconds, or
- Apply alcohol hand sanitizer and let it fully dry
This sounds obvious. Under stress and urgency, people skip it. Don't.
Step 3: Assess the Wound
Before cleaning, understand what you're dealing with:
Wound depth:
- Superficial (skin only): manage at home
- Deep (through fat layer, possible muscle or tendon): manage at home but monitor closely, consider closure
- Down to bone or involving major structures: manage at home if crisis, but needs professional care as soon as available
Wound edges:
- Clean and approximatable (edges naturally come together): closure is beneficial
- Jagged, crushed, or contaminated: do NOT close — leave open, clean thoroughly, monitor
Contamination:
- Dirty wounds (soil, feces, animal saliva): higher infection risk, thorough cleaning essential
- Clean wounds (kitchen knife on clean food): lower risk
Step 4: Irrigate
Irrigation is the single most effective infection-prevention step.
Method:
- Fill a 20 ml syringe with clean water
- Hold the syringe 1–2 cm above the wound
- Press the plunger firmly to create a high-pressure stream
- Move systematically across the entire wound surface
- Use at least 200 ml of water total — more for contaminated wounds
- Repeat this 3 times
What to do if you have no syringe: Pour water from a height to create pressure. A plastic bag with a pinhole creates acceptable pressure. This is not ideal but is better than no irrigation.
What NOT to do:
- Do not pour hydrogen peroxide into the wound (damages tissue, impairs healing)
- Do not pack the wound with antiseptic-soaked gauze on the first pass
- Do not rub the wound surface
Step 5: Examine After Irrigation
Now look carefully at the wound:
- Any foreign material still visible? (gravel, glass, wood)
- Remove visible debris with tweezers — wash tweezers with antiseptic first
- Do NOT probe deeply for foreign material you cannot see
Step 6: Apply Antiseptic
After irrigation:
- Apply antiseptic solution (povidone-iodine or chlorhexidine) to the wound margin and surrounding skin
- Let it sit for 30 seconds
- Diluted povidone-iodine (1:10 in water) can be used inside the wound; full-strength on skin margins only
Step 7: Decide on Closure
Close (if all conditions met):
- Wound is less than 8 hours old
- Wound is clean (not contaminated with soil or animal saliva)
- Wound edges come together naturally without tension
- Wound is not a puncture or bite
Methods (no sutures available):
- Wound closure strips (Steri-Strips): Excellent for clean lacerations up to 4 cm. Apply perpendicular to the wound, pull edges together gently, do not strangulate.
- Adhesive bandage across wound: Works for very small, straight cuts
- Skin stapler: If available, fastest and most secure for scalp/torso wounds
Leave Open (when any condition fails):
- Wound is over 8 hours old
- Wound is visibly contaminated
- Wound is a bite or puncture
- You cannot fully clean the wound
Open wound management:
- Cover with non-adherent dressing loosely
- Change dressing twice daily
- Irrigate each time you change dressing
- Most wounds heal well by secondary intention (open healing) if kept clean
Step 8: Dress and Protect
After closure or decision to leave open:
- Apply antibiotic ointment (if available) lightly to wound surface
- Cover with non-adherent dressing (Telfa pad or similar)
- Secure with tape or elastic bandage
- Dressing should be:
- Not too tight (impairs circulation)
- Not too loose (moves around and contaminated)
- Changed every 1–2 days
Step 9: Monitor Daily
Check the wound daily for infection signs. Use this progression:
| Day | Normal | Concerning |
|---|---|---|
| 1–2 | Redness around wound margins, slight warmth | Rapidly expanding redness |
| 3–4 | Redness stabilizing or improving | Increasing redness, pus forming |
| 5–7 | Wound beginning to close | Red streaks from wound, fever |
Red streaks extending from the wound indicate spreading infection (lymphangitis). This is a medical emergency requiring antibiotics and immediate professional evaluation.
Wound Closure Strips: Technique
For lacerations, wound closure strips (Steri-Strips) are nearly as effective as sutures for appropriate wounds:
- Dry the skin on both sides of the wound thoroughly
- Apply skin adhesive (if available) to each side and let it become tacky (30 seconds)
- Apply first strip crossing the wound at the midpoint, pulling edges together gently
- Work outward from center, alternating sides
- Final strips run parallel to wound on each side to anchor the cross-strips
- Leave in place for 7–10 days (face) or 10–14 days (body)
This guide covers the majority of wound care situations you'll encounter. When professional care becomes available, seek evaluation for: wounds that haven't begun healing after 5 days, any signs of spreading infection, wounds near joints or tendons, and any wound where you are uncertain about contamination.
Recommended Products
As an Amazon Associate we earn from qualifying purchases. Buying through our links supports the development of this app at no extra cost to you.