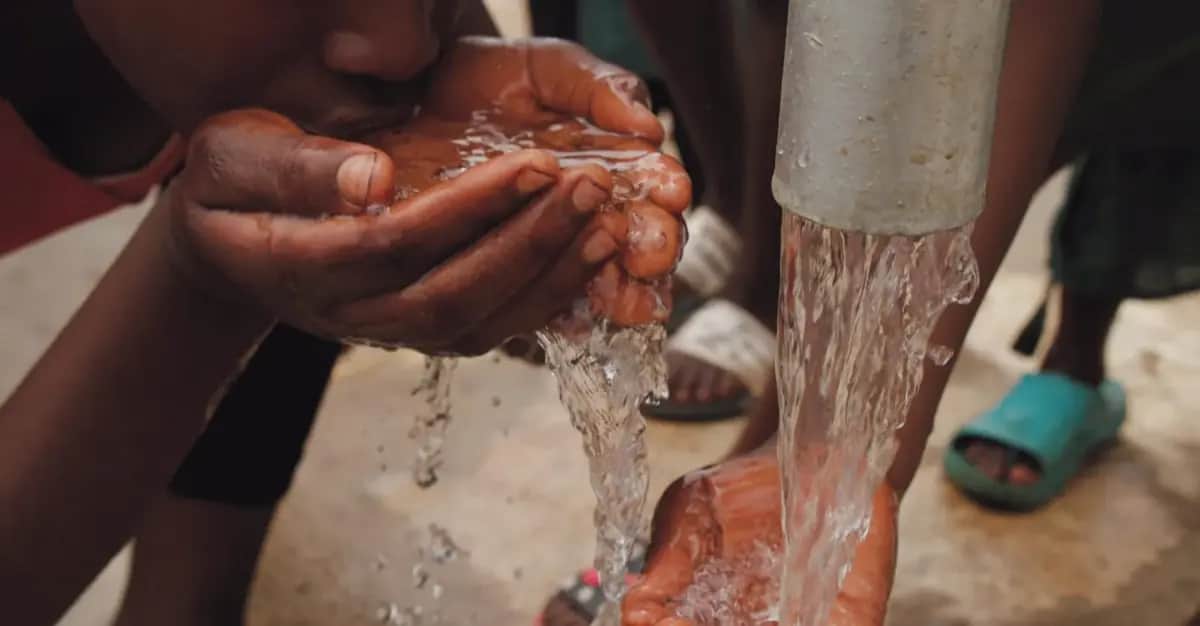
 Foto: G N / Pexels
Water Filtering Step by Step: From Puddle to Drinking Water
Step-by-step guide: how to turn water from a natural source into safe drinking water — with and without filter equipment.
Foreword: What You Should NEVER Drink Without Treatment
No water source is safe without treatment — except sealed bottled water or your own filled, known-clean water.
Never drink untreated:
- River water, lake water, pond water
- Rainwater (contains air pollutants and microorganisms)
- Well water of unknown origin
- Tap water after a pipe break or flooding
Step 1: Find a Suitable Water Source
Not all water sources are equal — start with the cleanest one you can find.
Sources by preference (best first):
- Mountain spring water (flowing from a rocky spring): Often very clean, usually only biological treatment needed
- Flowing river water (upstream, far from settlements): Good, but biological and chemical contamination possible
- Pond water, standing water: Higher biological risk, often turbid
- Rainwater (collected in a clean container): Relatively clean biologically, but air pollutants present
- Water near urban areas, farmland: Very high chemical contamination risk
Warning signs of heavily contaminated water:
- Unusual color (red, blue, green, very turbid)
- Strong odor (chemicals, sulfur, putrefaction)
- Dead vegetation or fish nearby
- Industrial area, agriculture immediately at the bank
Step 2: Coarse Pre-Filtering (Always)
Regardless of your main filtration method: always remove coarse particles first.
Method A — Cloth/T-shirt:
- Take a clean, tightly woven cloth (cotton, multiple layers)
- Stretch it over a container
- Slowly pour water through
- Repeat with a second, finer cloth
Method B — Coffee filter/paper: A coffee filter removes very fine particles but is less robust than fabric.
Method C — Gravity settling: Fill a container, let stand 30-60 minutes. Sediment settles. Carefully scoop the top 2/3 of the water into a new container.
Step 3: Main Filtration Based on Available Equipment
Option A: Professional Water Filter (Sawyer, Katadyn, LifeStraw)
- Fill input bag/container with pre-filtered water
- Attach filter
- Let water run through (Sawyer: pressure from bag; LifeStraw: suction)
- Collect filtered water in a clean container
- After 1-2 liters: backflush (included syringe) to restore capacity
Result: Free from bacteria and protozoa (treat viruses separately if needed)
Option B: Build an Improvised Gravity Filter
If no professional filter is available:
Materials:
- 2 plastic bottles (1.5-2 liters)
- Fine sand (clean, from a stream or dune sand)
- Coarse sand or small stones
- Activated charcoal (from burned, cleaned wood, or from aquarium use)
- Fine-woven cloth or coffee filter
Construction:
- Cut the bottom off one bottle, flip it upside down (opening facing down)
- Layer from bottom to top: fine cloth → fine sand (~10 cm) → activated charcoal (~5 cm) → coarse sand (~10 cm) → rough stones (~5 cm)
- Place this bottle on top of the second bottle (as collection container)
- Pour pre-filtered water slowly from the top through
Important: This DIY filter removes sediments and improves taste, but is NOT a safety filter against bacteria or viruses. Always subsequently boil or chemically treat.
Step 4: Disinfection (Always with Unknown Sources)
After filtering: always disinfect.
Method A: Boiling
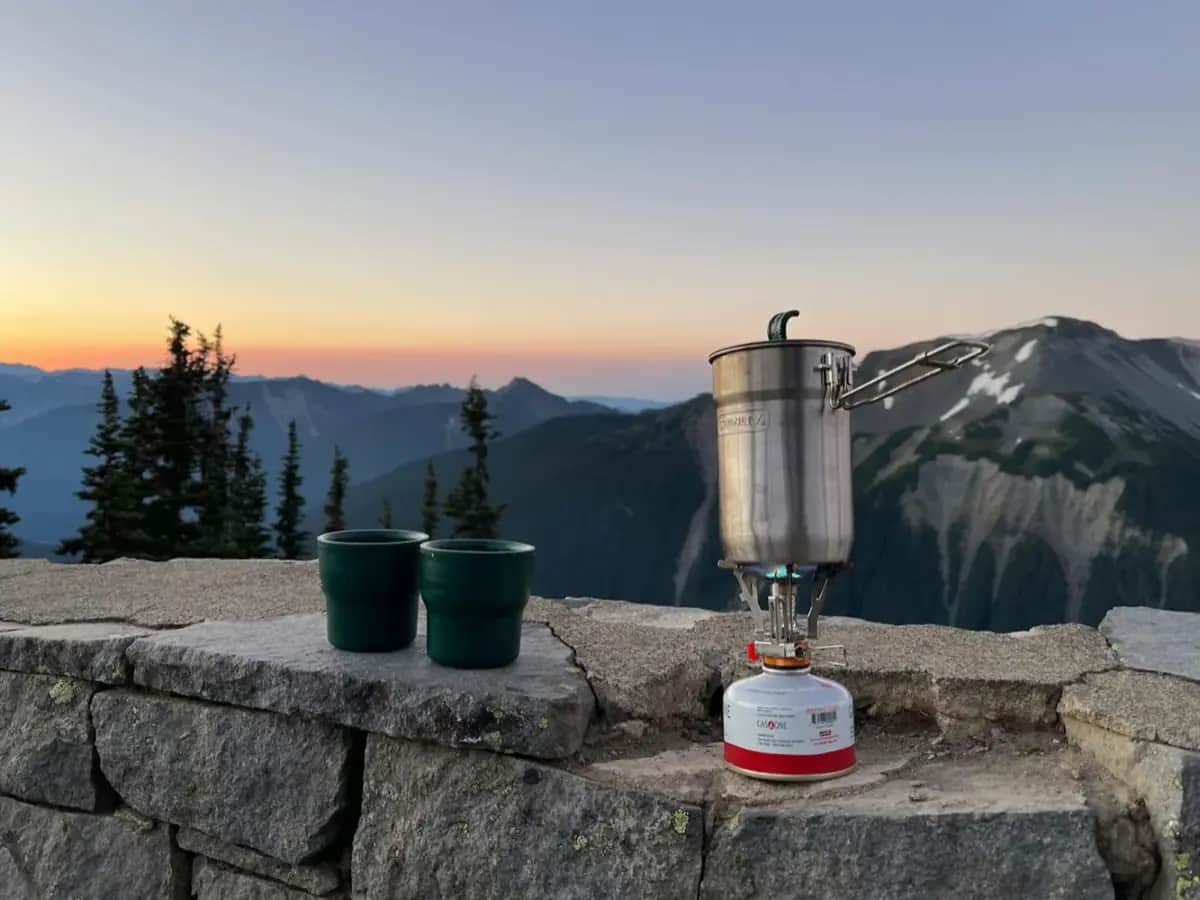
- Bring filtered water to a boil in a clean pot
- Maintain at full rolling boil for at least 1 minute
- At altitudes above 2,000 m: boil 3 minutes
- Let cool (in clean, closed container)
Method B: Chlorine Tablets (Micropur Forte, Aquatabs)
- Filter water (must be clear for full effectiveness)
- 1 tablet per liter of clear water
- Stir well
- Wait 30 minutes before drinking (cold water: 60 minutes)
Method C: UV Pen (SteriPen)
- Water MUST be clear (pre-filter!)
- Turn on device, hold in water
- Stir/swirl for indicated time (usually 60-90 seconds per liter)
Step 5: Optional — Improve Taste
After disinfection, water may taste of chlorine or be "flat."
- Add activated carbon pouch: For 15-30 minutes, improves taste
- Aerate: Let boiled water stand open for 30 minutes (chlorine dissipates)
- Transfer: Pour between two containers several times to add oxygen
Safety Checklist After Treatment
Before drinking:
- Water was pre-filtered
- Biologically disinfected (boiled, chlorine, or UV)
- Collected in clean container (no contact with untreated water)
- Container sealed with lid
- Not stored more than 24 hours (then re-treat or filter)
Recommended Products
As an Amazon Associate we earn from qualifying purchases. Buying through our links supports the development of this app at no extra cost to you.