 Foto: RDNE Stock project / Pexels
Severe Bleeding: How to Apply a Tourniquet and Pressure Bandage
Step-by-step guide for treating severe, life-threatening bleeding: when and how to apply a tourniquet, how to use a pressure bandage, and what not to do.
Why Severe Bleeding is a First Aid Priority
Severe, uncontrolled bleeding from a limb can cause death from blood loss in as little as 3-5 minutes. This makes it one of the few genuine "first aid emergencies" where immediate action by a bystander is the difference between life and death.
Modern tactical medicine — developed from battlefield experience — has proven that tourniquets, properly applied, save lives and are safe for civilian use. The old teaching that "tourniquets cause limb loss" is outdated. Delay in applying a tourniquet causes death.
This guide covers two core techniques: tourniquet application and pressure bandaging.
Recognizing Life-Threatening Bleeding
Not all wounds require aggressive intervention. Life-threatening bleeding is characterized by:
- Large volume of blood loss (soaking through clothing, pooling)
- Arterial bleeding: bright red blood pumping rhythmically with the heartbeat
- Location on limb, especially near large vessels (upper arm, thigh, groin)
- Victim showing signs of shock: pale, cold, clammy skin; rapid weak pulse; confusion; loss of consciousness
When in doubt: A tourniquet is the right first response for any wound on a limb with severe, uncontrolled bleeding.
Method 1: Tourniquet Application
When to use: Severe, life-threatening bleeding from an arm or leg that cannot be controlled with direct pressure.
What is a Tourniquet?
A tourniquet is a constricting device applied to a limb to stop blood flow distal to it. The Combat Application Tourniquet (CAT) and similar devices are designed for quick, one-handed application.
Best practice: Have a commercially manufactured tourniquet — CAT Gen 7, SOFTT-W, or similar. Improvised tourniquets are significantly less reliable.
Step-by-Step Tourniquet Application
Step 1: Expose the wound Quickly cut away clothing to see the wound.
Step 2: Position the tourniquet Place the tourniquet 5-7 cm (2-3 inches) above the wound, on bare skin (not over clothing if possible). For wounds in the groin or armpit (junctional), a tourniquet is not applicable — see pressure bandage below.
Step 3: Pull and thread Thread the strap through the buckle and pull as tight as possible — very tight, tighter than you think necessary.
Step 4: Secure and tighten For a CAT tourniquet: twist the windlass (the rod/handle) in the same direction until bleeding stops. You will hear/feel the person in pain — this is normal and expected. Continue until bleeding stops or you've made 3-5 full turns.
Step 5: Lock the windlass Secure the windlass in the locking mechanism. For a CAT: into the clip.
Step 6: Note the time Write the time of application on the tourniquet or on the person's skin with a marker. Use "T" followed by the time: "T14:32". Emergency services MUST know when the tourniquet was applied.
Step 7: Do not remove Once a tourniquet is applied for life-threatening bleeding, do not remove it. Only emergency medical personnel should remove it.
Signs of Effective Application
- Bleeding from the wound slows dramatically or stops
- The limb below the tourniquet becomes pale (reduced blood flow)
- The person is still in pain — the tourniquet is very tight
Tourniquet Myths to Discard
- "Tourniquets cause permanent nerve damage" — Modern research shows properly applied tourniquets are safe for 1-2+ hours. Untreated severe bleeding causes death far faster.
- "Loosen it every 20 minutes" — Old, dangerous advice. Do not loosen. Leave in place until medical personnel take over.
- "Try everything else first" — For severe limb bleeding, apply the tourniquet immediately. Seconds matter.
Method 2: Pressure Bandage (Israeli Bandage / Emergency Bandage)
When to use:
- Severe bleeding where tourniquet can't be applied (head, neck, chest, abdomen, junctional areas)
- Moderate severe bleeding as the primary method
- After tourniquet application to manage wound
How to Apply a Pressure Bandage
Step 1: Apply direct pressure Place the sterile pad directly over the wound. Press firmly with both hands. If you don't have a bandage, use whatever clean material is available.
Step 2: Maintain constant pressure Do not remove the pad to check — this disrupts clotting. Hold pressure for a minimum of 10 minutes. If blood soaks through, add more material on top — do not remove the first pad.
Step 3: Wrap firmly If you have an emergency bandage (Israeli bandage), wrap it around the wound, through the pressure bar, and back around again in the opposite direction. The goal is to maintain maximum pressure.
Step 4: Secure Use the closure bar to lock the bandage in place.
Step 5: Position If possible, raise the injured limb above heart level (reduces blood flow to the area).
For Wounds Where Tourniquet and Bandage Can't Be Applied (Junctional)
Groin, neck, and armpit wounds require wound packing:
Wound packing:
- Pack hemostatic gauze (e.g., QuikClot, Celox) deeply into the wound
- Apply firm, continuous pressure with both thumbs for 3-5 minutes
- Pack additional gauze if needed
- Maintain pressure until medical help arrives
This procedure is effective but requires practice. Consider taking a Stop the Bleed course which covers wound packing specifically.
After Controlling Bleeding
- Call or confirm 112 / 911 / 999 has been called
- Keep the person still and warm (shock management)
- Talk to them calmly — conscious victims should be reassured
- Tell arriving paramedics:
- Time tourniquet was applied
- How much blood was lost (approximate)
- Current symptoms
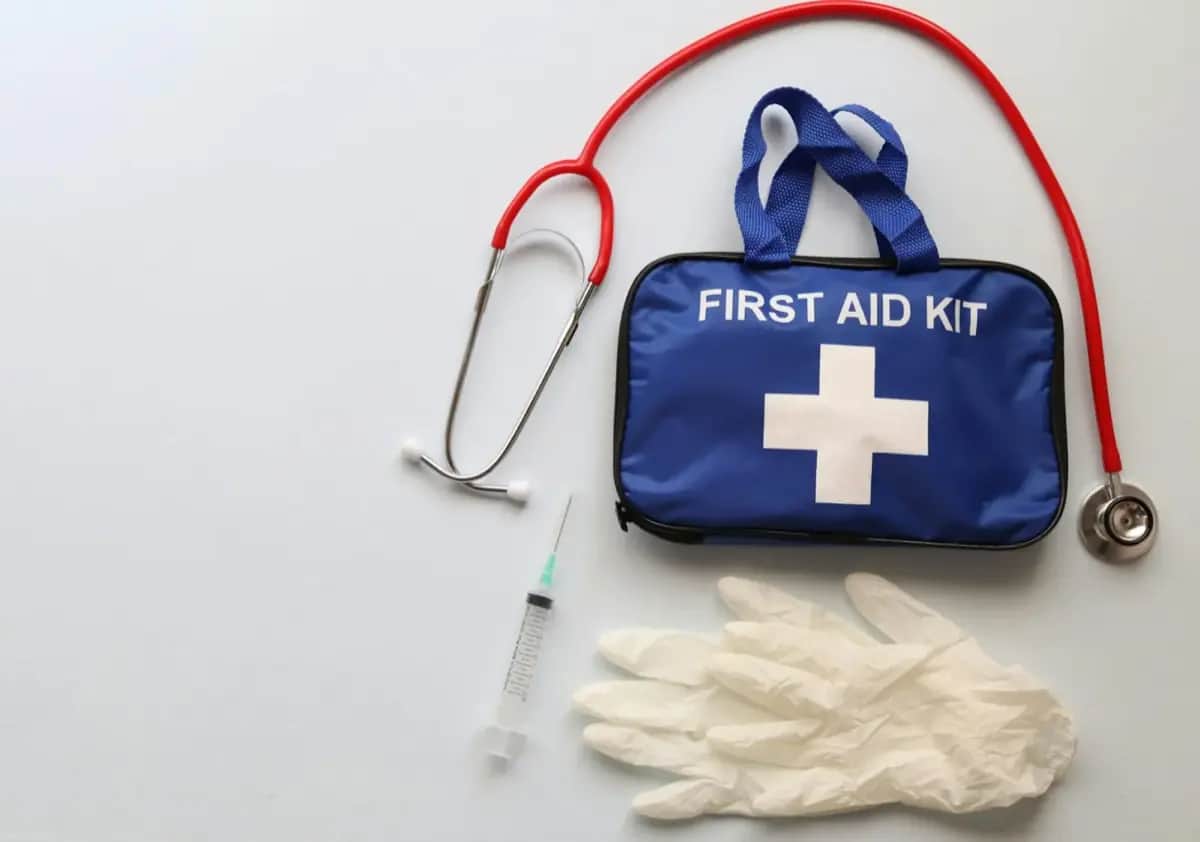
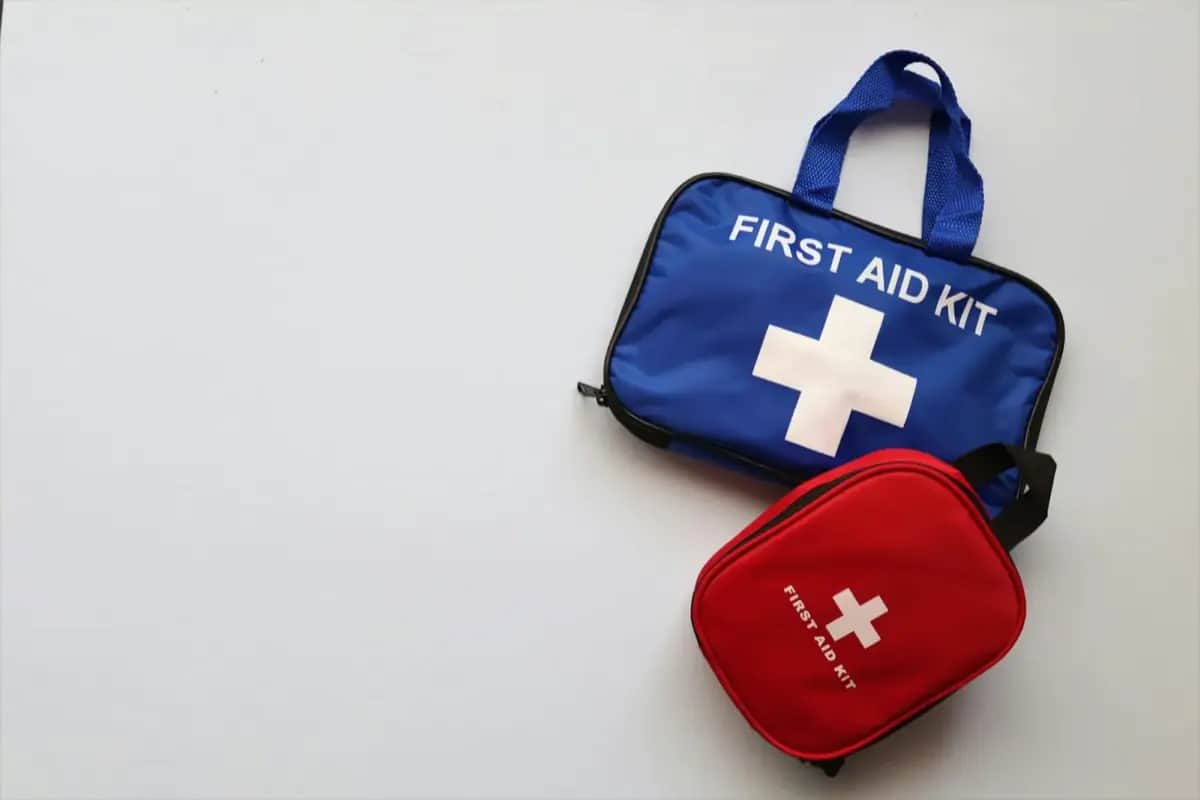
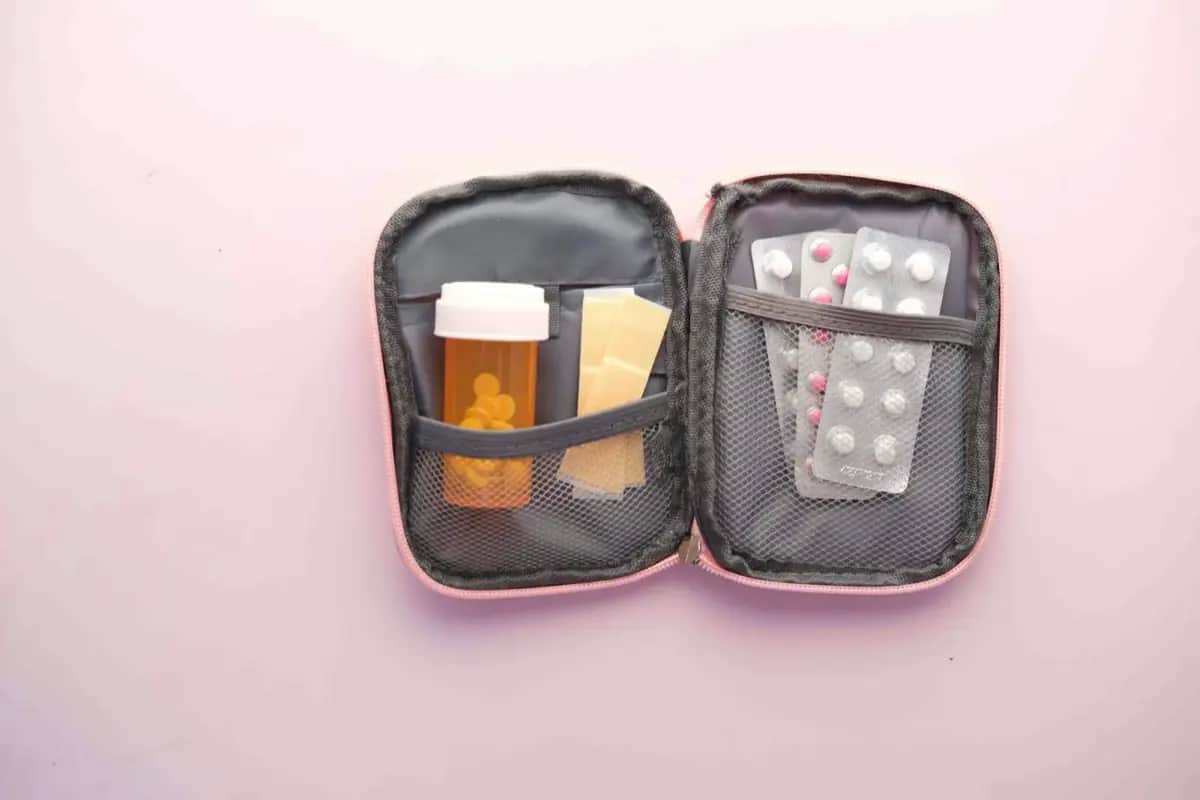
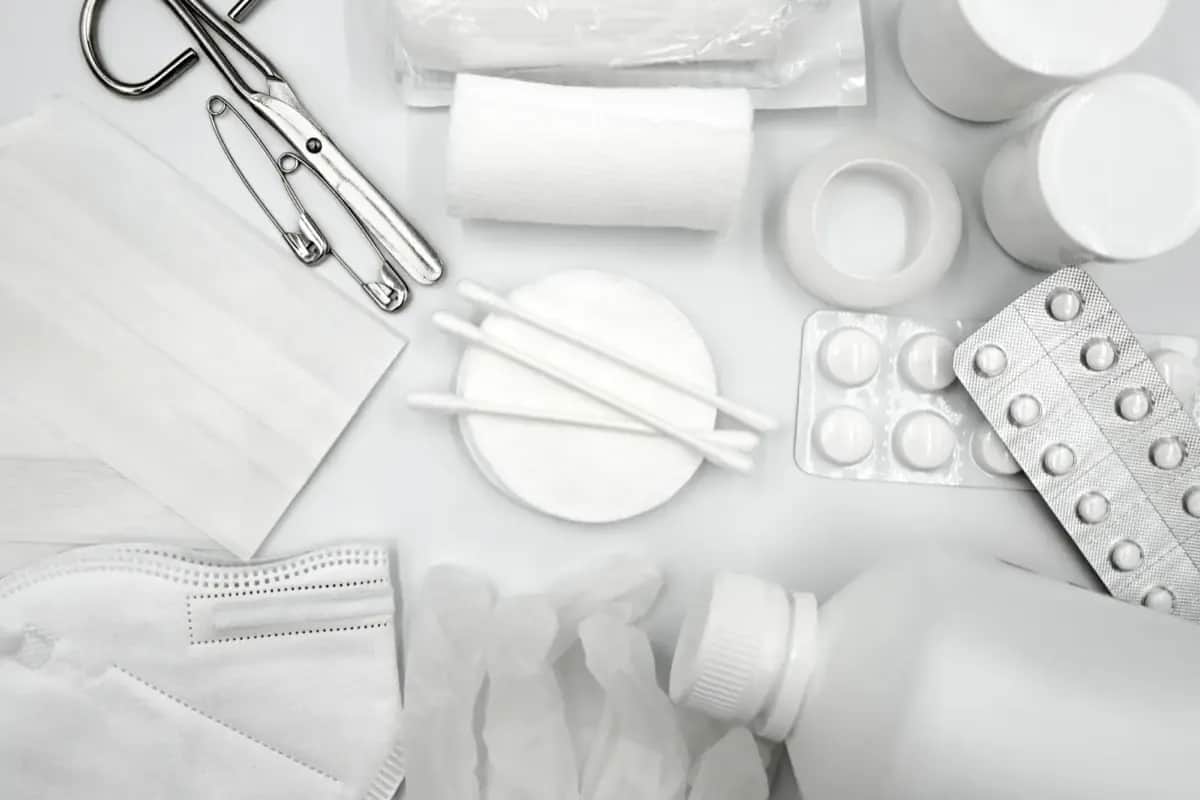
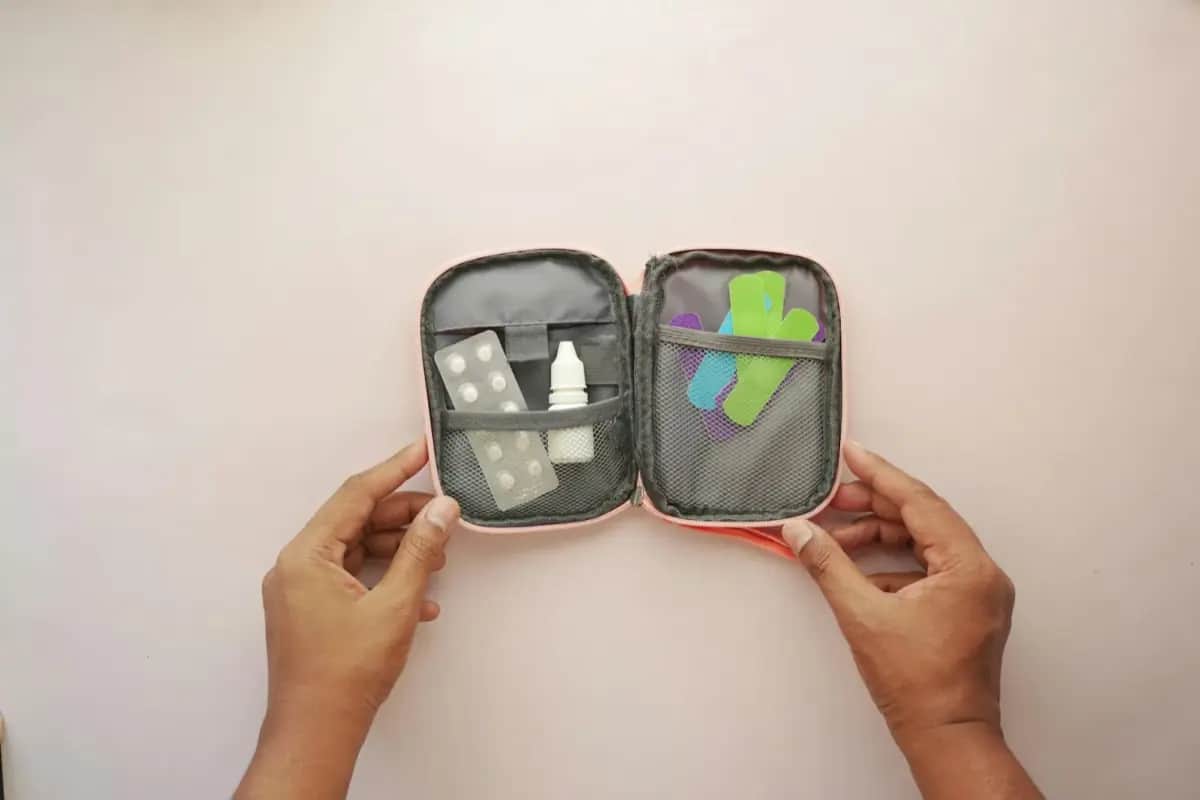
What to Add to Your First Aid Kit
For effective bleed control:
- CAT or SOFTT-W tourniquet — trained, commercial tourniquet
- Israeli bandage (emergency bandage) — purpose-built pressure bandage
- Hemostatic gauze — QuikClot or Celox for wound packing
- Nitrile gloves — always wear when providing first aid
- Marker — for writing tourniquet application time
- Trauma shears — for quickly cutting away clothing
Learning These Skills
This guide provides critical conceptual knowledge. For actual skill development:
- Stop the Bleed courses — Free, widely available, designed specifically for civilian bleed control
- First aid courses — Cover multiple emergency scenarios including CPR
- Tactical first aid courses — More in-depth training on wound management
The most important takeaway: don't let the fear of "doing it wrong" prevent you from acting. Imperfect tourniquet application and imperfect pressure bandaging are significantly better than doing nothing while waiting for help. Act.
Recommended Products
As an Amazon Associate we earn from qualifying purchases. Buying through our links supports the development of this app at no extra cost to you.