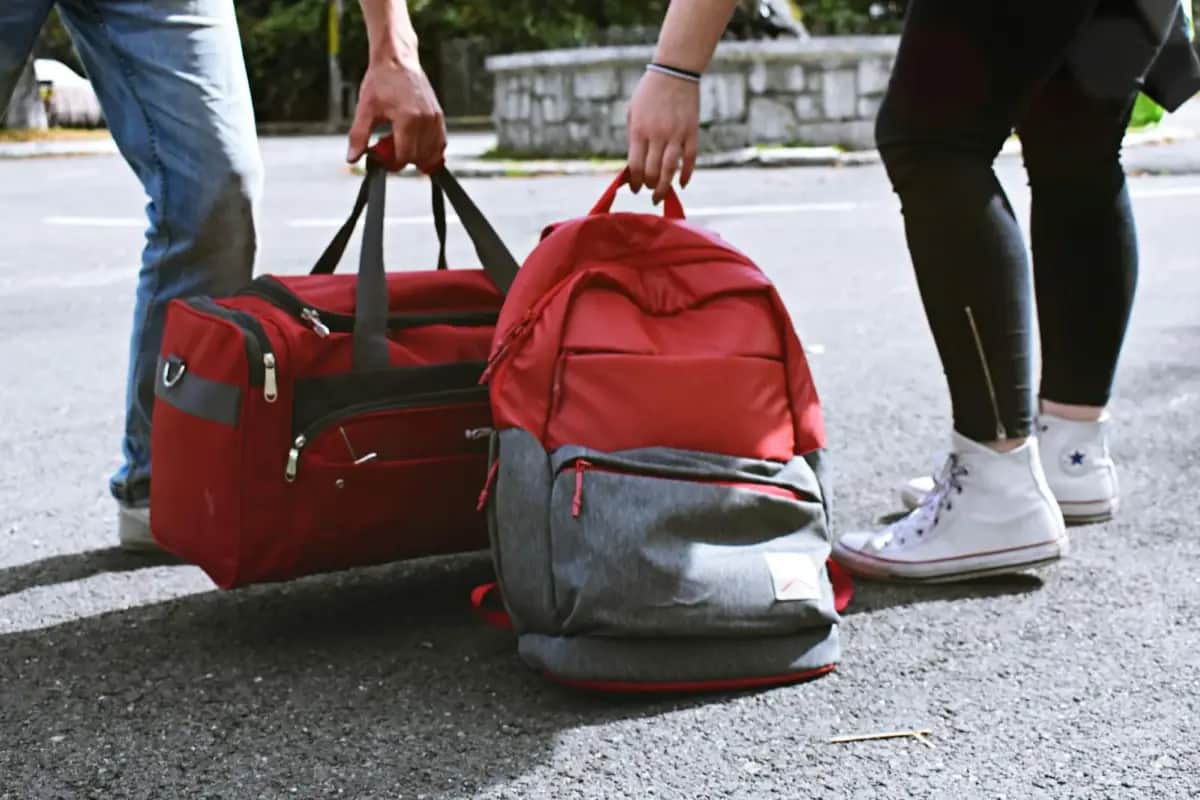
 Foto: Diana ✨ / Pexels
Pack Your Emergency Backpack Like a Pro: Step-by-Step Guide
Learn the professional method for packing an emergency backpack: weight distribution, accessibility zones, modular organization, and the final test that confirms you're ready.
The Professional Approach vs. The Amateur Approach
The amateur approach: buy items, stuff them into the bag, hope for the best.
The professional approach: systematic organization by accessibility zones, weight distribution for comfortable carry, modular pouches for quick retrieval, and a final physical test before the emergency.
The difference isn't money — it's method. This guide gives you the method.
Step 1: Inventory Everything Before Packing
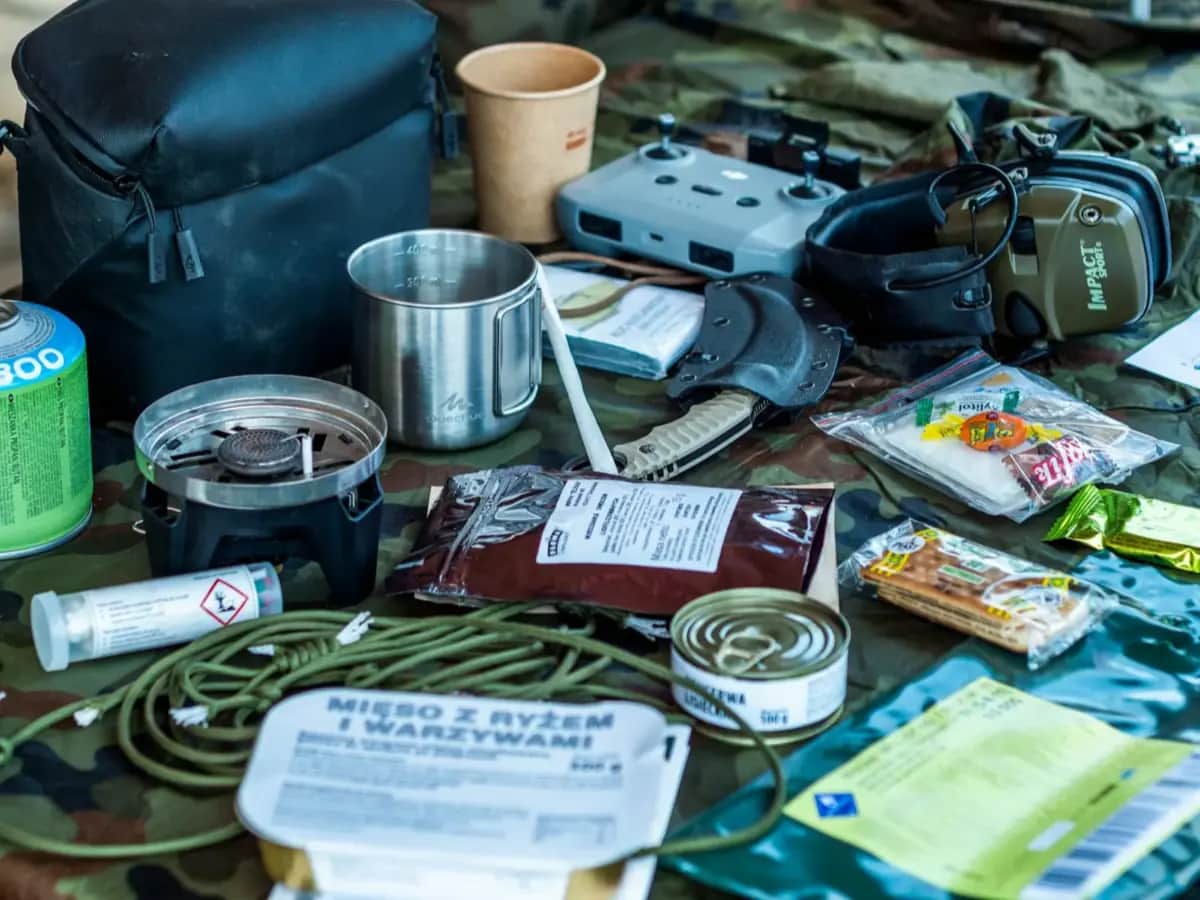
Before placing a single item in the bag, lay everything out on a table. Create a written inventory list. Weigh each category.
Why this matters: It forces you to see everything at once, identify what you actually have versus what you think you have, and make conscious decisions about what earns its place in a limited-weight bag.
Typical category weights:
- Water (2L): 2 kg
- Food (72-hour supply): 1.5 kg
- Shelter and warmth: 0.8–1.5 kg
- First aid: 0.4–0.6 kg
- Tools and utility: 0.5–0.7 kg
- Navigation and communication: 0.6–0.8 kg
- Documents and cash: 0.1 kg
- Hygiene: 0.2–0.3 kg
Target total (contents): 6–9 kg for a capable 72-hour kit. Add bag weight (1–1.5 kg for a 30–40L bag) for total carry weight of 7–11 kg.
If your inventory weighs more than 11–12 kg, you need to cut items — starting with the heaviest per-unit items that add the least capability.
Step 2: Assign Accessibility Zones
Every item in your pack belongs in one of three zones based on urgency of access:
Zone A: Immediate Access (Top Pocket and Top of Main Compartment)
Items you may need without stopping to open the full bag:
- Headlamp
- Rain poncho
- Snack bars (energy for moving)
- Water bottle (one of two)
- Personal medications (daily doses)
- Phone and power bank
Zone B: Regular Access (Middle of Main Compartment)
Items needed when you stop to eat, make camp, or address a situation:
- Full first aid kit
- Camp stove and cooking fuel
- Food supplies (main portion)
- Spare clothing layer
- Water filter and purification tablets
Zone C: Infrequent Access (Bottom of Main Compartment)
Items set up once at camp or used less frequently:
- Emergency bivvy/space blanket (set up when stopping for the night)
- Additional clothing layers
- Sleeping equipment
- Shelter materials
External Attachment
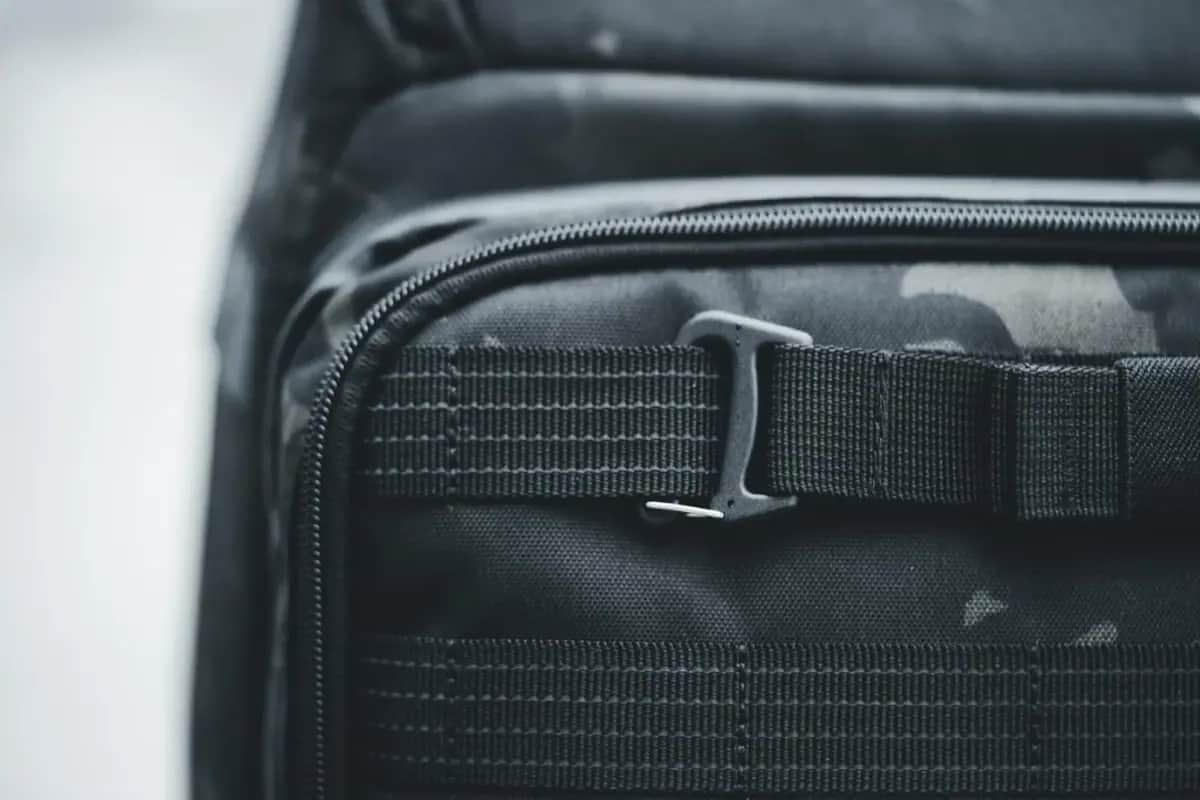
Items needing rapid access can be attached externally via MOLLE webbing or side pockets:
- Collapsible water bottle
- Signal mirror
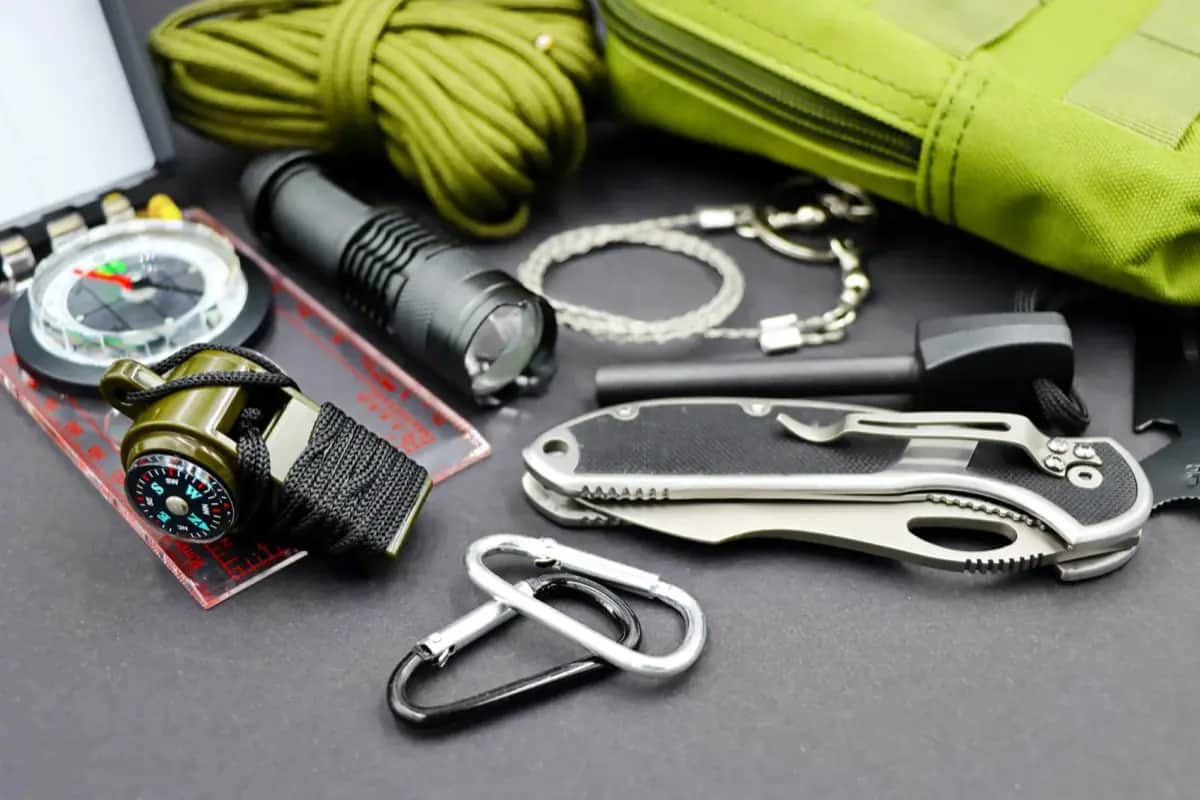
- Small knife or multi-tool in side pocket
Step 3: Weight Distribution for Comfortable Carry
Correct weight placement transforms a painful bag into a comfortable one. Incorrect placement causes back pain, instability, and exhaustion.
The Three Rules of Weight Distribution:
Rule 1: Heavy items go close to your back, in the middle-to-upper section of the bag. This places the center of gravity near your natural center of gravity (spine, hips), reducing the lever arm that causes back pain.
Wrong: heavy items at the bottom (pulls you backward) or far from your back (increases lever arm).
Rule 2: Medium-weight items surround the heavy core. Food, cooking gear, and clothing form a natural layer around water and tools.
Rule 3: Light items go in the front/outermost pockets. Rain poncho, first aid kit, maps — these don't affect stability and can be in the most accessible positions.
Step 4: Use Modular Organization
Chaos inside a bag slows you down. Modular pouches — small color-coded organizer bags within the main compartment — transform chaos into a searchable, retrievable system.
Recommended pouch system:
- Red pouch: First aid (clear: when you need it, you need it fast and under stress)
- Green pouch: Food and nutrition
- Blue pouch: Water purification equipment (filter, tablets, collapsible bag)
- Yellow pouch: Documents, cash, copies
- Black pouch: Tools, fire, utility
Within each pouch, keep the same item in the same position every time. After several uses, retrieval becomes automatic.
Step 5: Waterproof Critical Items
A wet bag in heavy rain will soak everything. Assume the bag will get wet.
Items that must stay dry:
- Documents (use waterproof pouch)
- Electronics and cables (dry bag or thick ziplock)
- Food (separate inner dry bag)
- Medications (waterproof case)
- Sleeping bag liner or insulation
The entire bag contents can be protected with a pack liner (waterproof bag that fits inside the main compartment) or a waterproof bag cover (attaches outside). A large heavy-duty garbage bag works as an emergency liner for zero cost.
Step 6: Adjust the Bag Fit
A bag that doesn't fit correctly is tiring to carry and can cause injury.
Hip belt: Should rest on top of your hip bones (iliac crest), not on your waist. The hip belt should carry 60–70% of the bag's weight. If it's not carrying weight, it's adjusted too high.
Shoulder straps: Should conform to your shoulders without gaps. Tighten after securing hip belt.
Load lifters: The small diagonal straps between shoulder strap tops and bag top. Tighten until shoulder straps are at a roughly 45° angle from your shoulders.
Sternum strap: Reduces shoulder strap spreading; helps stabilize the bag for movement. Should not feel constricting.
Spend 10 minutes adjusting. Then walk with the loaded bag. A well-fitted bag with 10 kg should feel comfortable for hours.
Step 7: The Final Test
This is the step most people skip — and it's the most important one.
With the fully packed bag:
- Walk for 2 hours — does anything chafe, dig in, or cause discomfort?
- Retrieve the headlamp in the dark — without a light, can you find it by touch?
- Eat an emergency ration — does the food work with minimal preparation?
- Filter and drink water — complete the full purification process
- Open the first aid kit — can you access it quickly and find what you need?
- Simulate reading the map and compass — do you know how to use them?
Write down everything that was difficult, slow, or confusing. Fix it before you put the bag away.
Maintenance Schedule
- Monthly: Verify power bank is charged
- Every 6 months: Check food and medication expiration dates; replace as needed
- Annually: Full inventory; test all equipment; update documents; replace any degraded items
- After each use: Restock, reorganize, recharge
Summary: The 7 Steps
- Inventory everything before packing
- Assign accessibility zones (A/B/C)
- Heavy items close to back, middle-upper position
- Use color-coded modular pouches
- Waterproof critical items
- Adjust bag fit properly with full load
- Complete the 2-hour carry test before relying on the bag
A well-packed emergency bag is one that you trust completely because you have tested it. That trust, in a real emergency, is worth more than any individual piece of equipment inside it.
Recommended Products
As an Amazon Associate we earn from qualifying purchases. Buying through our links supports the development of this app at no extra cost to you.